We would like to thank you for choosing a Trionic Walker!
Thank you for choosing our product! We truly hope you’ll enjoy a greater mobility with your Trionic Walker 9er, and that you will experience many pleasant moments with it.
By choosing a Trionic Walker 9er you will discover a whole range of benefits that will improve your access to different environments, and hopefully it will help increase your quality of life.
Please read the User Manual carefully before use and follow all the guidelines, especially the Safety Instructions.
These operating instructions contain all necessary instructions for adjusting and operating your Trionic rollator.
This user manual is intended provide all users and support staff with a basis for ensuring the safe use of the product. The manual contains information on the preparation, use, maintenance and servicing of your rollator. In order to make the most of the device in a sensible manner and to maintain handling reliability, you should always comply with the specified handling instructions. Make sure that the user manual can always be accessed by the user.
This user manual is included in the scope of delivery. We reserve the right to make changes to the versions shown in this manual as a result of further technical development.
The copyright is owned by the manufacturer. This user manual is not subject to updating service.
Reuse by third parties
If you pass on your rollator to a new user, please remember to hand over all the technical documentation needed to ensure safe operation. Trionic Sweden AB is not responsible for the condition of the product when passed on to a new user.
Walker User Guide
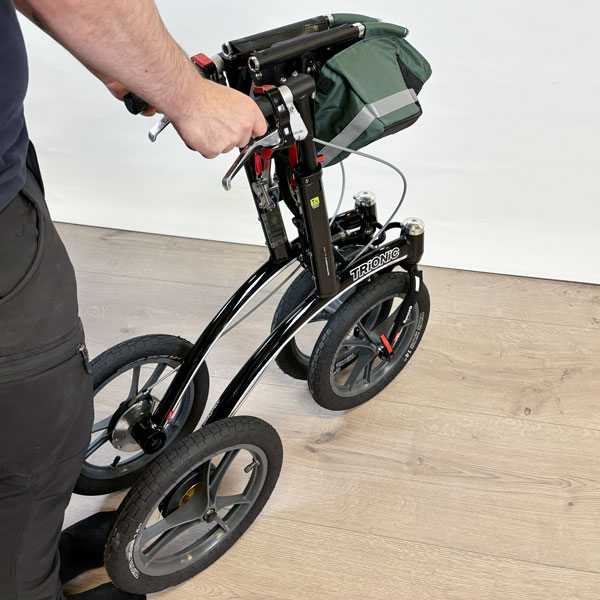
Trionic Walker 9er
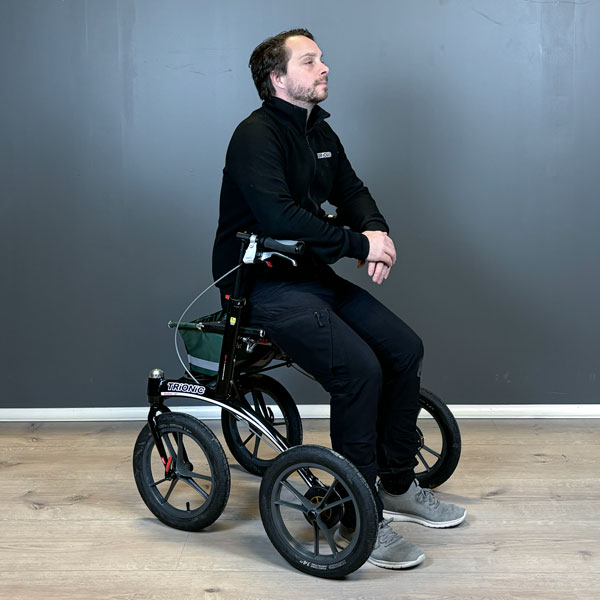
The Rollator Walker 9er is your perfect rollator to use both indoors and outdoors. With its 9” wheels and extra-soft PU-tires you’ll enjoy high comfort and a well-balanced performance. It’s light and compact for easy storage and transport. All the new Trionic Walker rollators are equipped with a synchronized steering feature (patent pending) that eliminates the problems with shimmying and skewed swivel wheels. The Walkers are tested and approved according to the international standard ISO-11199-2:2005, for a maximum user weight of 150 kg.
Technical Data
| |
Walker 9er M |
| Min. height: |
74 cm |
| Max. height: |
94 cm |
| Width: |
66 cm |
| Length: |
68 cm |
| Seat height: |
62 cm |
| Seat width: |
43 cm |
| Wheel size: |
9"/23 cm |
| Size folded |
68 x 28 x 82 cm (L x W x H) |
| Size folded without wheels: |
61 x 28 x 74 cm (L x W x H) |
| Weight: |
9,5 kg |
| Weight without wheels: |
6,6 kg |
| Max. user weight: |
150 kg |
Safety
- Both brakes should be locked in parking mode before you use the seat.
- Before you start walking with the Walker, make sure it’s completely unfolded.
- Be extra careful in steep terrain and on slanting ground.
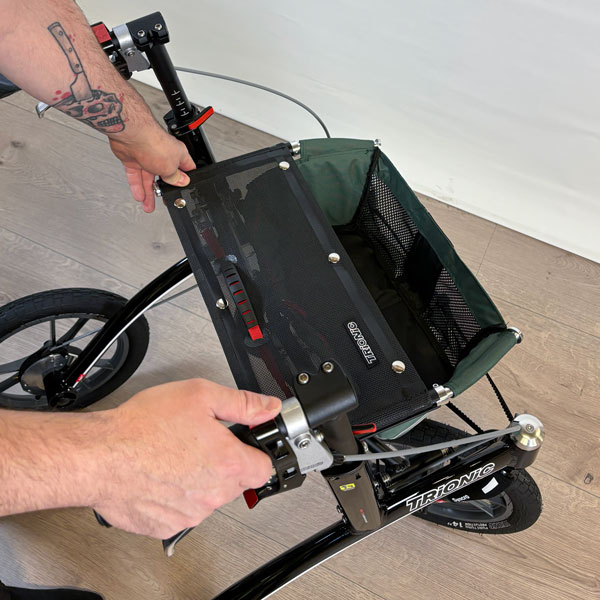
- The stability of the Walker is tested with a basket load of 5 kg. If you load additional weight to the basket, make sure to distribute the weight evenly in the basket.
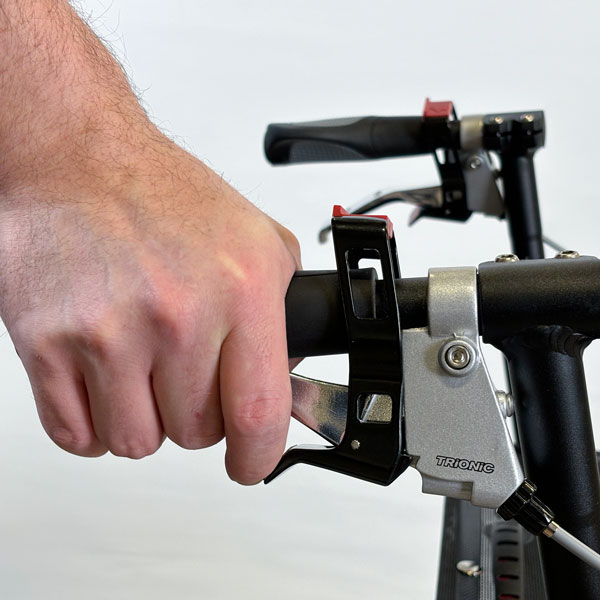
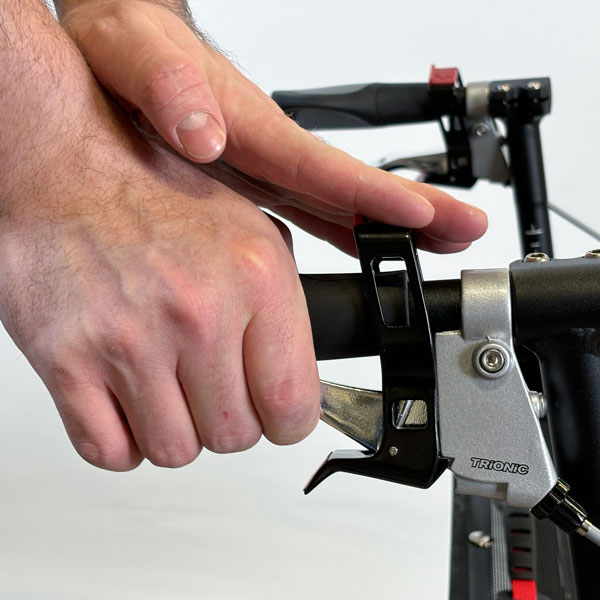
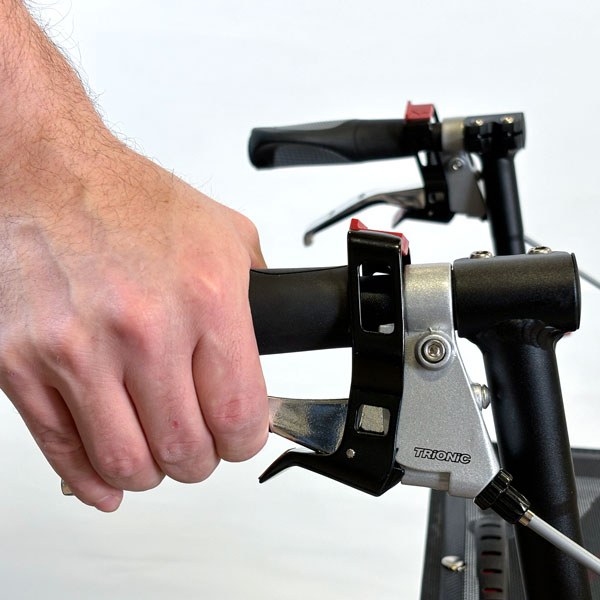
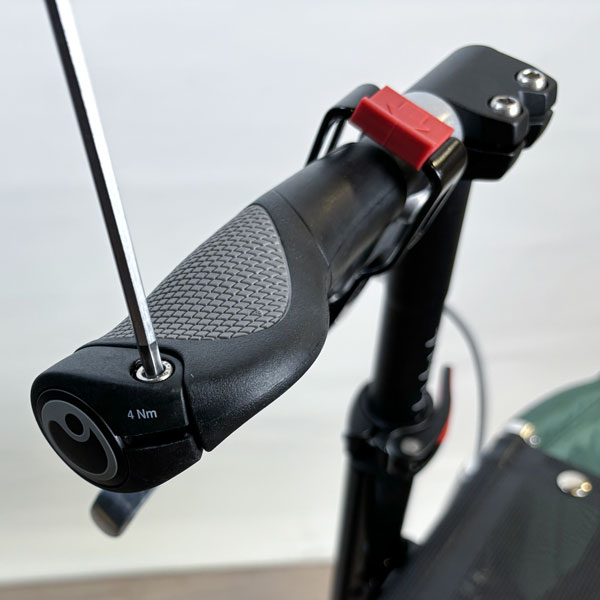
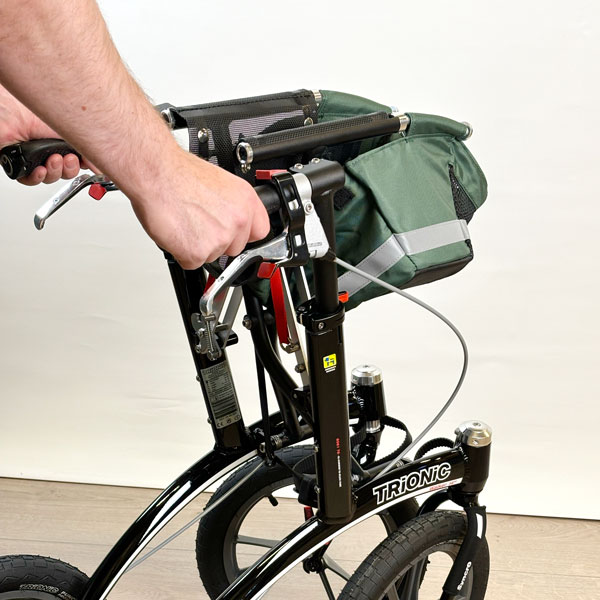
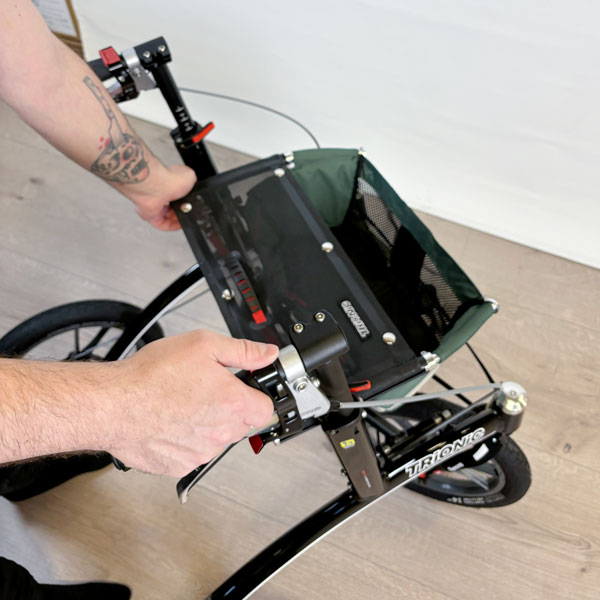
Grip Angle Adjustment
The angle of the grips can be adjusted so that you get a comfortable hand position and an optimal support.
1. Loosen the screw on the rear end of the grip with a 4 mm Allen key.
2. Turn/rotate the grip to your chosen angle, and lock it in place by tightening the screw again.
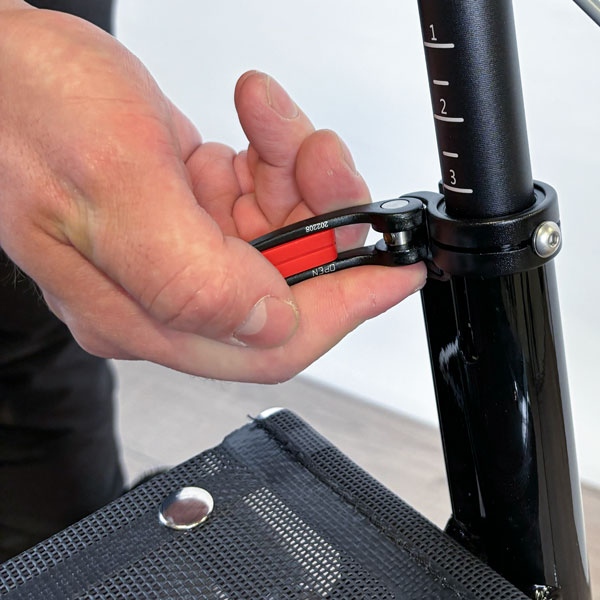
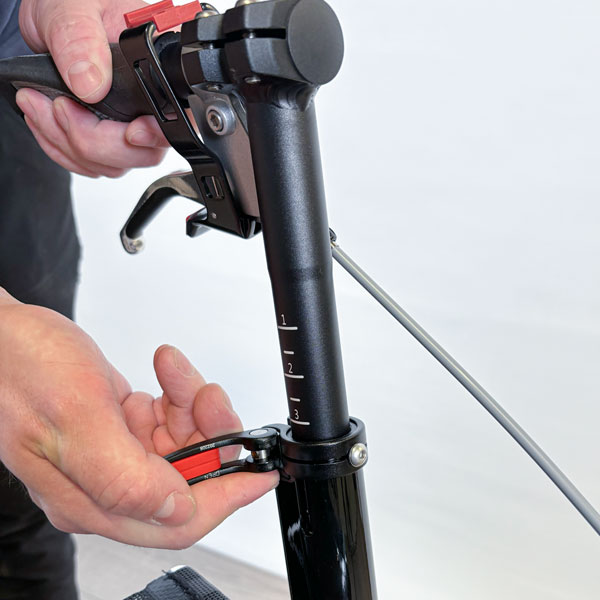
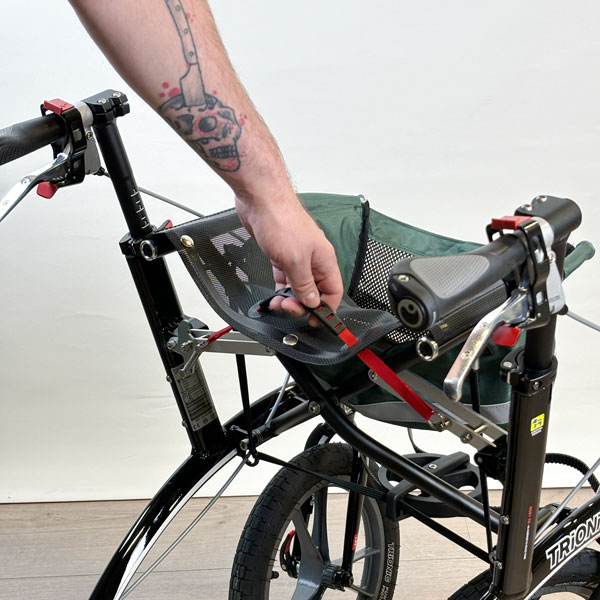
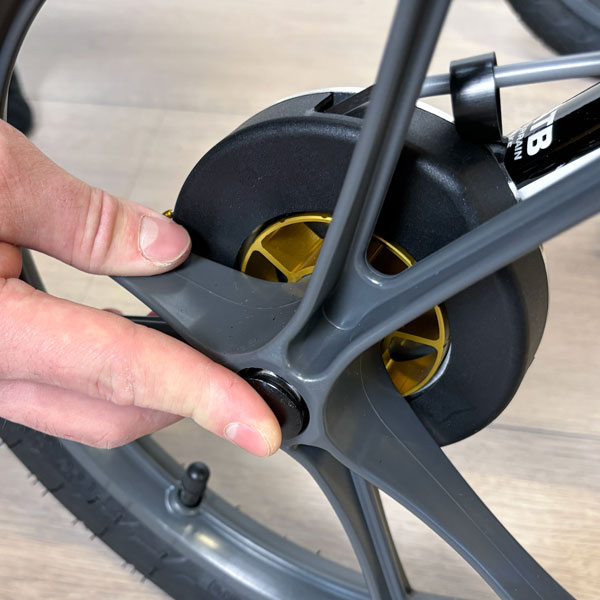
Removing/Installing the Rear Wheels
The rear wheels are removable to simplify transportation of the Walker.
1. To detach the wheel, press the black button at the centre of the wheel and pull the wheel off.
2. To attach the wheel, press the black button at the centre of the wheel and push the wheel axle into the axle hole. Release the button when the axle is in its end position.
3. Hold the tire and push/pull the wheel back and forth laterally to check if the wheel is properly secured.
Safety Instructions
Before use, check that your Trionic Walker functions properly:
- Check the function of the motion and parking brakes.
- Make sure that the frame is locked in unfolded walking mode.
- Check that the grips is properly secured at the correct height.
- The user’s weight may not exceed 150 kg.
- An annual control of the product is recommended to ensure its function, either by your dealer or service representative authorized by Trionic.
- Do not use a defective Trionic Walker.
Service Instructions
In order to maintain function and safety, make sure the following is carried out regularly:
- Clean the Walker with normal dish washing liquid, water and a dishcloth. Make sure it’s properly dried.
- Keep the wheels clean with dish washing liquid, water and a plastic brush.
- Check that screws and levers are tightened properly.
- If your Walker is not in perfect condition: please immediately contact your retailer/dealer or service representative authorized to service your Trionic Walker.
Make sure to check the tyre pressure every 4–5 weeks. Trionic recommends a tyre pressure of 1.5 bar/22 psi.
Trionic does not take responsibility for any alterations (adjustments or inadequate repairs) done to the product without prior authorization.
Label
The Veloped is tested and approved according to the provisions in the international standard for walking aid products: ISO 11199-2:2005 "Walking aids manipulated with both arms".
The user’s weight may not exceed 150 kg.
- Manufacturer
- Max user weight
- Width
- Length
- Max. and min. height
- Manufacturing Date
- Serial number
- Read the manual before use.
- According to ISO standard it is primarily for outdoor use.
- Product Code: EAN 13
- Article Number
- Aid approved according to 93/42/EEC
Environmentally Friendly
The Trionic Walker is manufactured in the way to have as little negative impact on the environment as possible during its lifecycle. When the product has served its purpose it can be scrapped and the parts can be recycled.
- The product’s aluminium components are separated from the remaining parts when sorted for recycling. The parts are sorted into metal, plastic and mixed materials.
- The greater part of the product is made of aluminium, steel and plastic.
- Examples of components made of mixed materials are the brake levers, wheels and handles.
- If you are uncertain of how to handle the recyclable material, please contact your local authorities, as different municipalities/recycling companies follow different recycling methods.
 Trionic Sverige AB is a member of Repak Ltd Ireland and Valpak Limited
in UK and fully implements the European Directive on Packaging and Packaging Waste dated December 20, 1994.
Trionic Sverige AB is a member of Repak Ltd Ireland and Valpak Limited
in UK and fully implements the European Directive on Packaging and Packaging Waste dated December 20, 1994.


 The Trionic Walker includes a 10-year guarantee, excluding parts that are subject to normal wear (tires, tubes, brake pads, brake cables, brake cable housings, grips and textile parts). The guarantee is valid from the date of purchase, and covers Trionic original parts only.
 CE - Trionic Sverige AB ensures that the above mentioned product meets the relevant legislation requirements (1993:584) concerning medical products as well as the specifications contained in the provisions for medical products (LVFS 2003:11). The product meets the specifications in EC’s directive regarding medical technical products 93/42/EEC.
